
How to Disinfect Your Home After the Flu, Room by Room
Once the fever breaks, here’s your move: clean visibly dirty areas with soap and water first, then disinfect high-touch hard surfaces with an EPA-registered product or the CDC bleach recipe, and wash linens in hot water. Flu viruses can survive on hard surfaces for days or even weeks, which is exactly why a one-time wipe-down won’t cut it.
- Clean, then disinfect. Soap first, disinfectant second, always in that order.
- Trust CDC and EPA guidance, not guesswork, for product choice and dilution.
- Consider a professional deep clean through Limpiezatropical if the mess is bigger than one household can handle.
Key Takeaways
Post-flu disinfection works when you clean before disinfecting, target high-touch surfaces daily, follow label contact times, and pair every step with hand hygiene.
| Point | Details |
|---|---|
| Clean before you disinfect | Soap and water remove the dirt barrier that blocks disinfectants from reaching the virus. |
| Respect contact time | Leave EPA-registered disinfectants or bleach solution visibly wet for the full label duration. |
| Prioritize hot zones | Faucet handles, fridge handles, and soap dispensers get missed constantly and touched daily. |
| Launder hot, handle with gloves | Wash bedding and soft toys in the hottest safe water and avoid shaking soiled laundry. |
| Call in help for big messes | Limpiezatropical’s deep cleaning service covers upholstery, steam treatment, and high-touch disinfection when the job outgrows a weekend. |
This article is general information, not a substitute for advice from a qualified doctor. Consult a qualified healthcare professional about your own circumstances before acting on anything here.
Table of Contents
- Clean Vs. Disinfect: Why the Order Matters
- Which Surfaces Should You Disinfect First?
- How Do You Choose the Right Disinfectant?
- What About Bedding, Toys, and Furniture?
- Cleaning Electronics and Other Tricky Items
- How Do You Protect Yourself While Cleaning?
- How Long Can Flu Germs Survive on Surfaces?
- Your Step-By-Step Post-Flu Cleaning Timeline
- What Mistakes Should You Avoid?
- When Does It Make Sense to Hire a Cleaning Service?
- A Publisher’s Take on Clinical Guidance Meeting Real Life
- Get Your Home Fully Reset After an Illness
- Sources
Clean Vs. Disinfect: Why the Order Matters
Cleaning and disinfecting are two different jobs, and skipping the first one wastes the second. Cleaning with soap or detergent physically lifts dirt, grease, and a good chunk of germs off a surface. Disinfecting is the chemical step that kills whatever pathogens are left behind, but it only works on a surface that’s already been cleaned.
The CDC is direct about this sequence: grime and residue act as a shield, blocking disinfectants from reaching the virus underneath. Skip the soap step and you’re essentially spraying chemicals onto a barrier instead of the germs you’re trying to kill.
- Wipe away visible dirt, crumbs, and residue with soap and water first.
- Let the surface dry or wipe it down, then apply your disinfectant.
- Sanitizing (a lighter step than full disinfection) is fine for food-contact surfaces and toys that get frequent contact but low symptom exposure.
Pro Tip: Keep a dedicated bucket of soapy water for the “clean” pass and a separate spray bottle for disinfectant. Mixing the two steps in one swipe is the most common reason disinfecting fails.
Which Surfaces Should You Disinfect First?
Not every square foot of your house carries equal risk. Focus your energy where hands actually land.
Bedroom (high priority): nightstand, lamp switch, headboard, remote control, door handles.
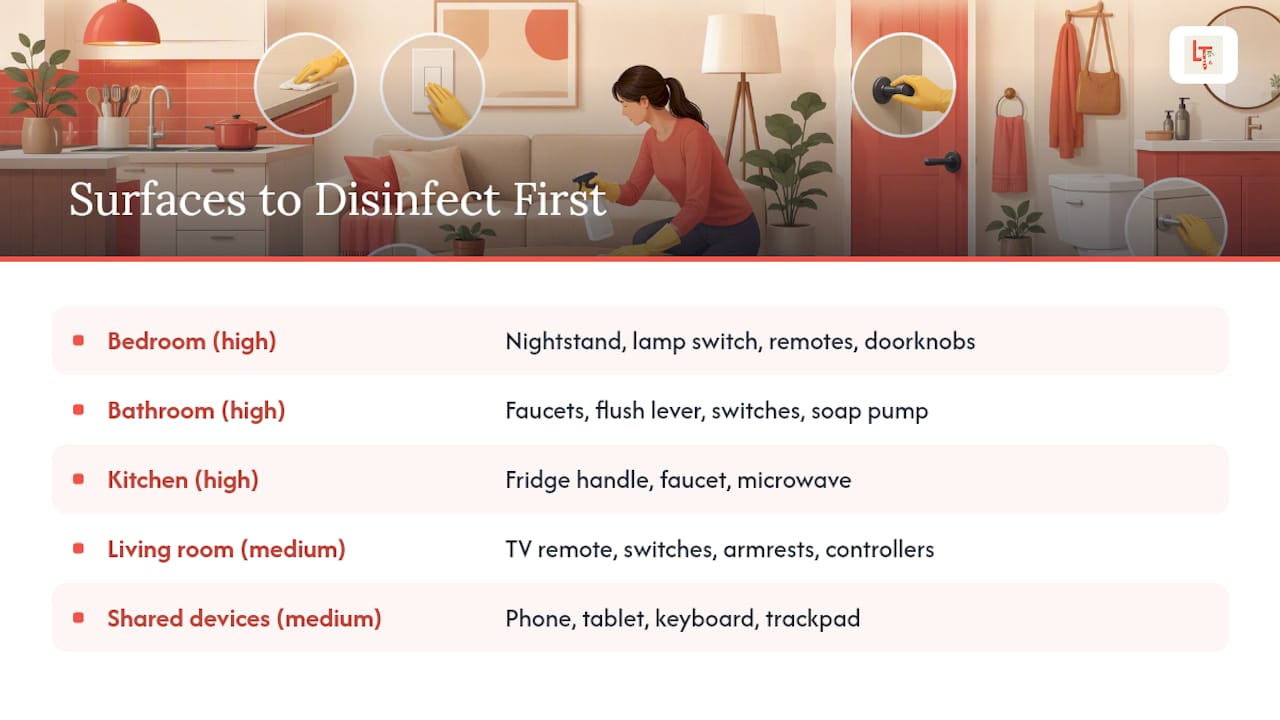
Bathroom (high priority): faucet handles, toilet flush lever, light switches, soap dispenser pump, towel bar.
Kitchen (high priority): refrigerator handle, cabinet pulls, faucet handle, microwave door, sponges (more on those below).
Living room (medium priority): TV remote, light switches, shared armrests, game controllers.
Shared devices (medium priority): phone, tablet, keyboard, laptop trackpad.
A few spots get missed constantly. The refrigerator handle, soap dispenser pump, and faucet handle get touched dozens of times a day and rarely make anyone’s mental cleaning list. Disinfect these daily while someone in the house is symptomatic, and keep it up for two to three days after they feel better.
How Do You Choose the Right Disinfectant?
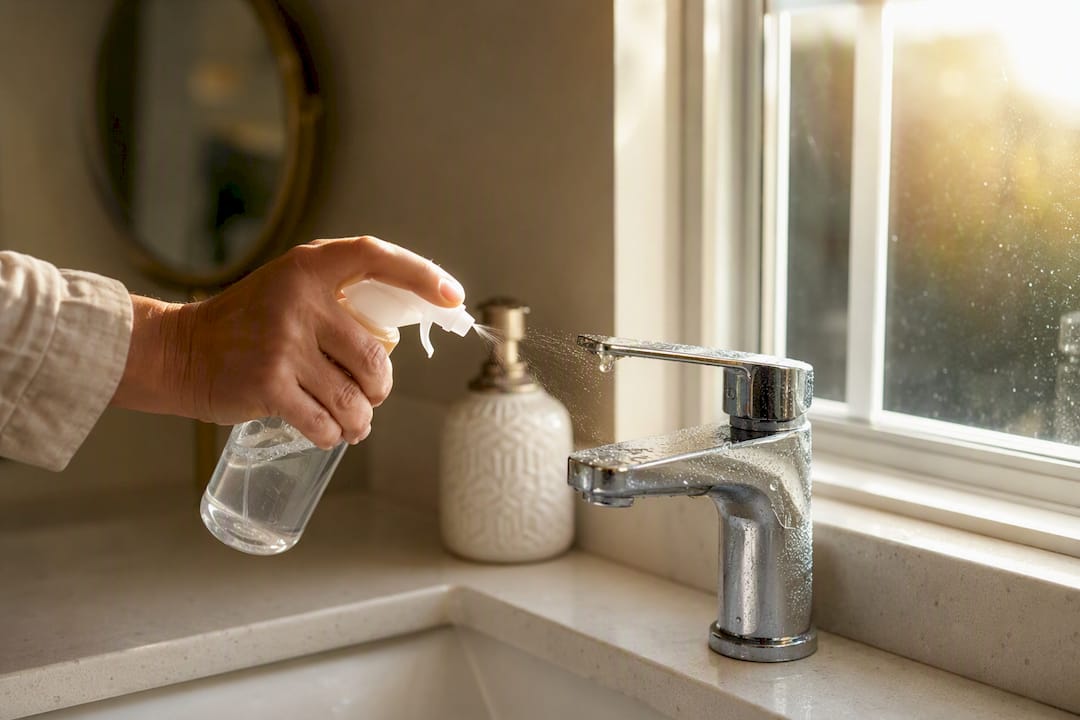
Three categories cover almost every situation: EPA-registered disinfectant sprays or wipes, a household bleach solution, or hydrogen peroxide-based cleaners for surfaces that can’t handle bleach’s bite. The EPA maintains a searchable list of products registered against specific pathogens, so check the label against the germ you’re targeting rather than assuming any disinfectant spray does the job.
If you’d rather mix your own, the CDC’s household bleach recipe is simple: 1 cup of regular bleach to 1 gallon of water for most hard, nonporous surfaces. Apply it, then leave it alone. Contact time is the part everyone rushes, and it’s the part that actually kills the virus. Most labels call for the surface to stay visibly wet for several minutes; wiping it dry too soon is one of the most common reasons disinfecting fails to work as advertised.
A few safety rules matter more than people think:
- Open windows or run a fan. Bleach fumes in a closed bathroom aren’t something you want to breathe for ten minutes straight.
- Never mix bleach with ammonia or other cleaning products. That combination produces toxic gas.
- Label any diluted bleach solution you store, and keep it away from kids and pets.
- Wear gloves. Bleach dries out skin fast and irritates broken skin badly.
What About Bedding, Toys, and Furniture?
Fabric holds onto viral particles differently than hardwood or tile, so soft surfaces need their own routine.
- Strip the bed and gather soiled laundry with gloves on. Avoid shaking sheets or clothing before washing. It can aerosolize particles into the air you’re trying to get rid of.
- Wash in the hottest water the fabric allows, then dry on the highest heat setting the item can tolerate. Heat does more of the killing here than detergent does.
- For upholstered furniture that can’t go in a washer, steam-clean if the fabric allows it, or isolate the item for 48 hours as viral load naturally drops off.
- For stuffed animals and soft toys, run them through a hot wash and dry cycle if the tag allows it, or set them aside for a couple of days rather than handing them straight back to a kid.
- For dishwasher-safe toys and hard plastic items, a hot dishwasher cycle handles both the cleaning and disinfecting step in one pass.
Cleaning Electronics and Other Tricky Items
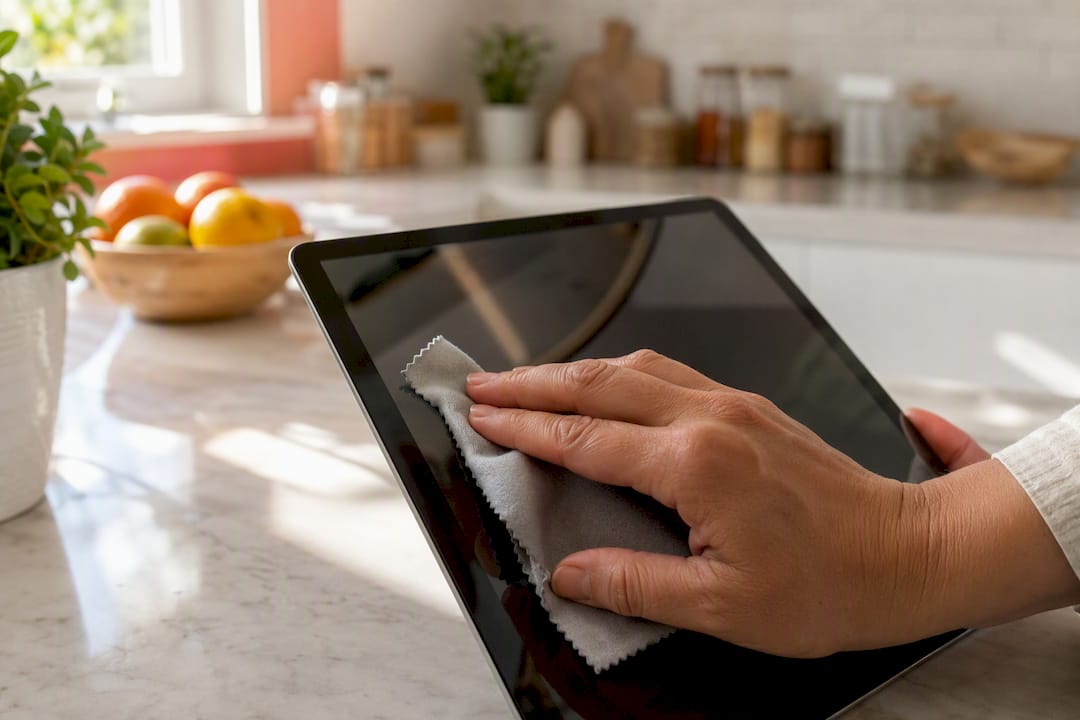
Phones, remotes, and keyboards need a gentler touch than a countertop; for guidance on cleaning interior doors and similar surfaces carefully, refer to practical tips for cleaning interior doors. Spray disinfectant onto a cloth first, then wipe the device. Spraying directly onto a screen or into a port risks liquid damage, and the FCC’s own guidance recommends this cloth-first method for exactly that reason.
For porous items like mattress pads or thick upholstery, vacuum first to pull out surface debris, then steam-clean if the manufacturer allows it. Large stains or heavy contamination are better handed to a professional deep-cleaning service than tackled with a spray bottle. Remember that flu droplets can travel roughly three feet from a cough or sneeze, so wipe down whatever sits within that radius of where the sick person spent most of their time, not just the obvious touch points.
How Do You Protect Yourself While Cleaning?
Disinfecting after an illness isn’t just about the surfaces. It’s about not making yourself sick in the process, either from the virus or from the chemicals.
- Wear disposable gloves for every cleaning pass, especially with bleach or bodily fluids involved.
- Add eye protection if there’s any risk of splashing, and a mask if you’re cleaning in a small, enclosed room.
- Ventilate the space before you start and keep it ventilated while you work.
- Never mix bleach with other cleaning products, and always label diluted solutions clearly.
- Wash your hands for a full 20 seconds after you’re done, gloves off.
Pro Tip: Sponges are a bacterial trap after someone’s been sick. Toss them and switch to microfiber cloths, which lift and hold more soil and microbes than a cotton rag or sponge ever will. If you can’t part with a sponge, microwaving it damp for two minutes cuts down its bacterial load.
How Long Can Flu Germs Survive on Surfaces?
Flu viruses aren’t fragile once they land on a hard surface. Research shows they can persist for days to weeks depending on the material and the humidity in the room, which is longer than most people assume.
Surface survival alone isn’t what gets you sick again. It’s the surface plus the habit of touching your face without thinking about it. Face-touching is one of the most overlooked reinfection pathways in a household, and no amount of disinfectant fixes a habit. Pair your cleaning routine with regular handwashing and you cut the risk from both directions.
- Shared items are reasonably safe to reuse once they’ve been disinfected and the household member has been fever-free for 24 hours.
- Households with infants, elderly relatives, or anyone immune-compromised should extend precautions a few extra days, since their margin for error is smaller.
Your Step-By-Step Post-Flu Cleaning Timeline
Here’s the sequence that actually works, laid out by day.
- Day 0 to 1: Isolate the sick person’s bedding and start laundering it in hot water immediately.
- Day 0 to 1: Bag and toss any disposable tissues, cups, or single-use items they’ve used.
- Day 1 to 3: Disinfect high-touch hard surfaces daily, bedroom, bathroom, kitchen, using an EPA-registered product or the bleach dilution above.
- Day 1 to 3: Wipe down electronics and shared devices with a cloth-first approach each evening.
- Day 2: Steam-clean or isolate any non-washable soft furniture the sick person used regularly.
- Day 3 and beyond: Once symptoms have cleared, do one full deep clean of every shared space, not just the sickroom.
- Ongoing: Continue daily high-touch disinfection for two to three extra days after symptoms end, since surfaces can still carry residual virus.
- Final step: Replace or sanitize sponges, restock gloves, and launder any cleaning cloths used during the illness.
Supplies to have on hand: bleach or an EPA-registered disinfectant, microfiber cloths, disposable gloves, trash bags, and a labeled spray bottle for your diluted solution.
What Mistakes Should You Avoid?
A few habits quietly undo all that work. Mixing bleach with ammonia-based cleaners produces dangerous fumes, not a stronger disinfectant. Wiping a surface dry before the label’s contact time has passed leaves live virus behind. Cleaning heavily soiled areas, vomit, diarrhea, without gloves risks direct exposure.
If you spot a bigger mess than routine cleaning covers, wide-area contamination, persistent odors after multiple cleaning attempts, or a household member who’s immune-compromised, stop, isolate that area, and call in a professional rather than pushing through with a spray bottle.
When Does It Make Sense to Hire a Cleaning Service?
Some situations are genuinely bigger than a weekend project. Extensive contamination, large households with a vulnerable family member, stubborn stains or odors, or simply not having the time or mobility to do a thorough job are all good reasons to bring in help.
A solid professional scope covers a deep clean of the kitchen and bathroom, steam-cleaning for upholstery or rugs, laundry service, and targeted disinfection of every high-touch area in the home. Before booking anyone, ask what products they use, whether those products are EPA-registered, and whether supplies are included in the quote. If you’re unsure how to get a space ready before a crew arrives, preparing your home for a cleaning service makes the visit faster and more thorough.
A Publisher’s Take on Clinical Guidance Meeting Real Life
CDC and EPA guidance is solid, but it’s written for a general audience, not for a parent with three kids and forty minutes before school pickup. What actually works is picking the two or three highest-risk surfaces and doing them right, every day, rather than trying to disinfect the whole house once and calling it done.
Get Your Home Fully Reset After an Illness
Doing the daily high-touch wipe-downs yourself is smart and effective, but a full post-illness reset, upholstery, grout lines, every overlooked corner, takes hours most people don’t have during flu season. Limpiezatropical’s local Miami teams handle that heavier lift: EPA-aware disinfectant application, steam treatment for upholstery, and a laundry add-on if you’d rather not deal with a mountain of sheets on top of everything else.
Every visit also includes a complimentary fridge cleaning, which covers one of the hot zones this article flagged as easy to miss. If your household just went through the flu and you want the space fully reset rather than spot-cleaned, book a deep cleaning service and get your instant estimate in about 60 seconds.
Sources
- How long do flu germs live on hard surfaces, fabric and skin? | University of Arizona Health Sciences
- What’s the best way to clean your house after someone in your family has been sick? | Cleveland Clinic
- Selected EPA-registered disinfectants | EPA