
Fridge Cleaning Checklist: Deep Clean Your Fridge in Under 1 Hour
Do a quick weekly purge and a full deep clean every few months, using this checklist to finish the whole job in one focused session. That cadence keeps food safe, cuts down on mystery odors, and matches what both the USDA and the American Cleaning Institute recommend. Work in short sections so perishables never sit out too long, and you’ll be done before anything on the counter starts to sweat.
TL;DR:
- Perishables should be kept in a cooler with ice packs during cleaning, and the total deep clean should not exceed one hour to avoid food spoilage risks.
- Removing and warming shelves before washing prevents glass cracking, and a baking soda solution effectively neutralizes odors inside the fridge.
- Deep cleaning every three to six months is recommended for busy households, with weekly and monthly light maintenance to prevent odors and stains.
- Use gentle, food-safe cleaning solutions like baking soda and mild dish soap, avoiding abrasive scrubbers, concentrated solvents, and straight vinegar on rubber gaskets.
- Professional cleaning services offer quick, thorough fridge cleanings, especially useful for move-in, move-out, or if heavy buildup or mold are present.
Table of Contents
- Your Quick Fridge Cleaning Checklist at a Glance
- The Step-By-Step Deep Clean, Start to Finish
- How Often Should You Clean the Refrigerator?
- What to Use to Clean a Fridge (and What to Avoid)
- Food Safety Rules While You Clean
- Fixing Stains, Sticky Spots, and Lingering Smells
- Coils, Vents, and Keeping the Outside in Shape
- When a Professional Deep Clean Makes More Sense
- A Scheduling Trick Worth Stealing
- Skip the Scrubbing: Let Limpiezatropical Handle It
- Sources
Your Quick Fridge Cleaning Checklist at a Glance
Print this or screenshot it before you start. Each step is small enough to knock out without losing track of what’s left.
- Empty everything onto the counter or into a cooler (5 minutes)
- Keep perishables cold in a cooler with ice packs the whole time (ongoing)
- Pull removable shelves and drawers and let cold glass warm up (5 minutes)
- Wash parts in warm, soapy water in the sink (10 minutes)
- Wipe down the interior with a baking soda solution (10 minutes)
- Clean the door gasket with a toothbrush, then dry it fully (5 minutes)
- Vacuum the coils on the back or underside (5 minutes)
- Deodorize with a fresh box of baking soda (1 minute)
- Restock food, checking dates as you go (10 minutes)
Total time runs less than an hour for a full deep clean. Keep perishables out of the danger zone the entire time. The USDA’s rule is firm: perishables should not be left at room temperature more than a couple of hours, or about one hour in hot conditions.
The Step-By-Step Deep Clean, Start to Finish
This is the same order a professional cleaning crew would follow, broken into short stretches so nothing sits out too long and nothing gets damaged by a rushed shortcut.
1. Gather your supplies first. Line up a cooler with ice packs, dish soap, baking soda, warm water, a few microfiber cloths, a soft sponge, an old toothbrush, and a trash bag before you open the door. Having everything within reach is what actually makes the “five minute section” method work.
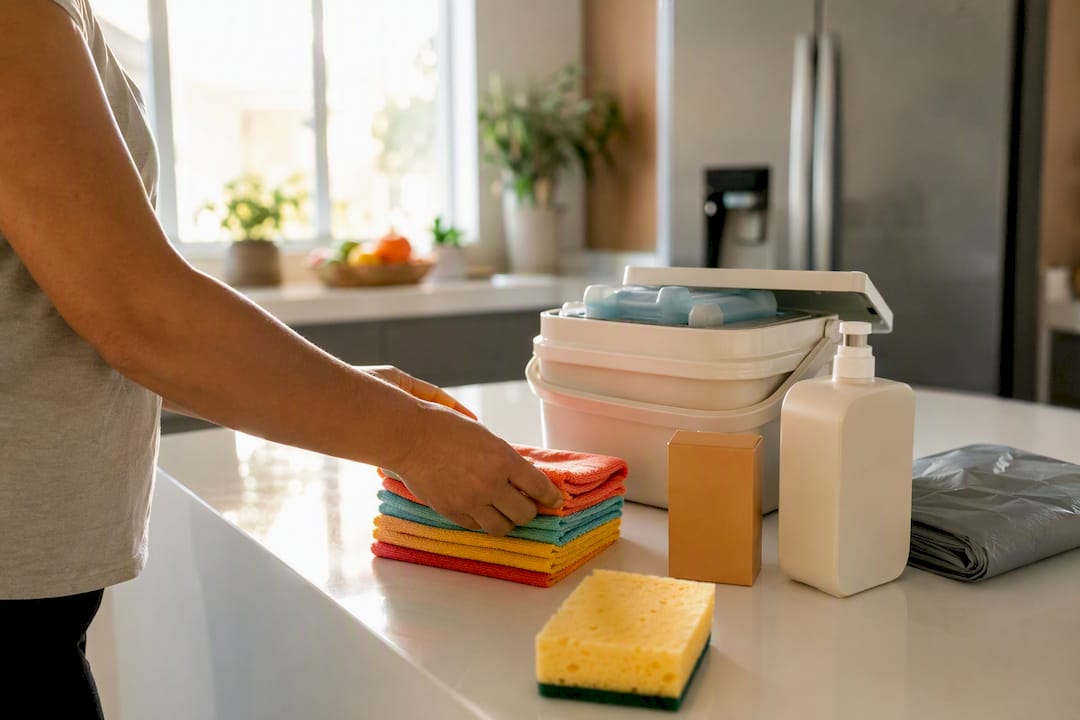
2. Move perishables into the cooler immediately. This is the step people skip, and it’s the one that matters most. Once food leaves the fridge, the USDA’s two-hour rule starts counting down, or just one hour if your kitchen runs hot. Pack the cooler tight with ice packs so it holds temperature for the duration of the clean.
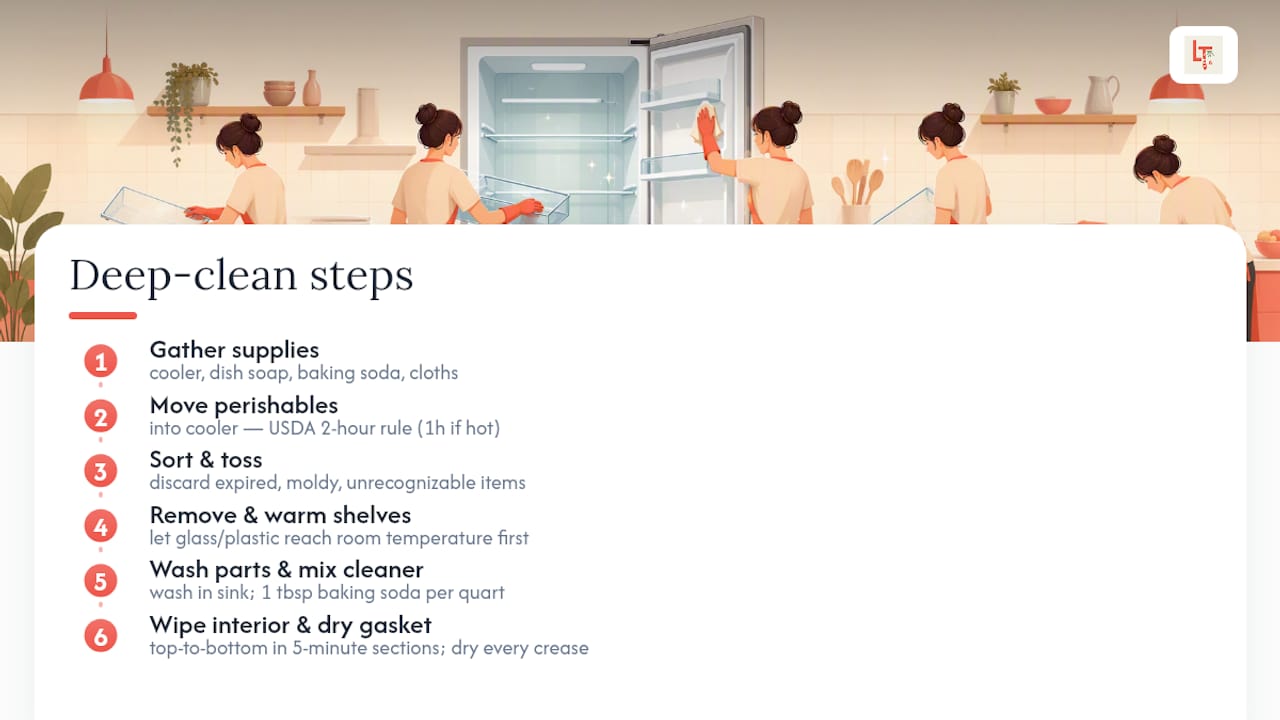
3. Sort as you empty. Toss anything expired, moldy, or unrecognizable straight into the trash. Cleaning experts at RealSimple point out that leaky containers and forgotten leftovers are the top cause of the smells and stains you’re trying to fix in the first place, so this is your chance to get ruthless.
4. Remove shelves and drawers, but let them warm up first. Cold glass and plastic shelves can crack under hot tap water, so give them a few minutes to reach room temperature before you wash them. Consumer Reports flags this as one of the most common accidental breakages in home fridge cleaning.
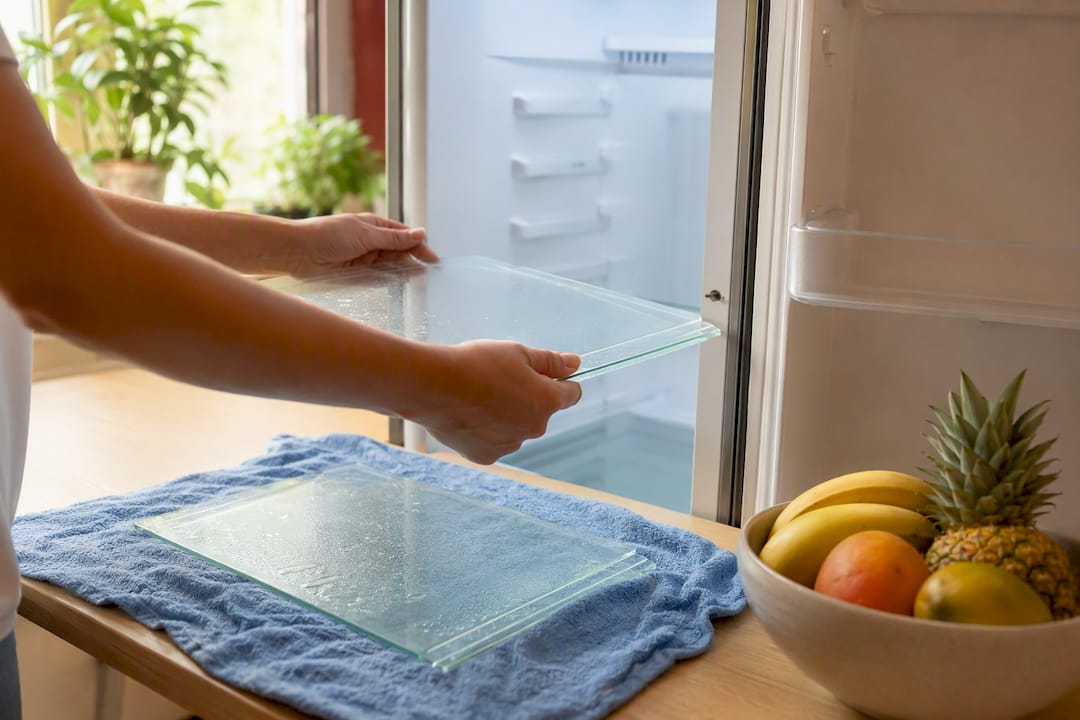
5. Wash removable parts in the sink. Warm water with a squirt of mild dish soap handles most residue. Avoid the dishwasher unless your manual says it’s safe. Rinse, then set parts on a towel to air dry while you tackle the interior.
6. Mix your interior cleaner: baking soda and warm water. A ratio of about one tablespoon of baking soda per quart of warm water cuts grease and neutralizes odors without leaving behind a chemical smell that food can absorb. Skip straight vinegar on interior walls near rubber parts. It’s fine for glass shelves but can degrade gasket material over repeated use.
7. Wipe the walls, ceiling, and floor of the fridge in sections. Work top to bottom, rinsing your cloth often. Doing this in 5-minute bursts, one shelf zone at a time, keeps the door from hanging open and losing cold air, a method appliance reviewers at Wirecutter recommend specifically to reduce strain on the compressor during routine cleanings.
8. Clean the door gasket with a toothbrush. Dip an old toothbrush in your baking soda solution and work it into every fold of the rubber seal. This is where crumbs and grime hide, and it’s also where mold likes to start.
9. Dry the gasket completely. Run a dry microfiber cloth through every crease. Consumer Reports notes that leftover moisture in gasket folds is a primary cause of the black mold spots that show up months later, so don’t rush this part.
10. Defrost the freezer if you’re seeing ice buildup. Unplug the unit, prop the door open, and lay towels below to catch melt. A hair dryer on low speeds things up, but never chip at ice with a knife. You can crack a coil that way.
11. Let everything dry, then reassemble. Slide shelves and drawers back once they’re bone dry. Plug the fridge back in if you unplugged it, and give it about 20 to 30 minutes to hit a safe internal temperature before restocking.
12. Restock with dates facing out. Put the oldest items in front so they get used first, and toss anything that spent more than its allotted window outside the fridge during your cleaning session.
Pro Tip: If your deep clean is running long, don’t just leave the door open while you scrub. Prop food back in the cooler and close the fridge between sections. It only takes a few minutes off your total time and saves the compressor from working overtime.
How Often Should You Clean the Refrigerator?
Match the schedule to how hard your household actually uses the fridge, not to some arbitrary calendar reminder.
- Weekly (2 minutes): Wipe up any spills before they turn sticky and toss anything obviously expired.
- Monthly (15 minutes): Pull out shelves and drawers for a quick wipe, swap your odor absorber, and check whether the water filter needs attention.
- Every 3 to 6 months: Run the full deep clean above. The American Cleaning Institute suggests leaning toward the 3-month mark for a busy family kitchen and stretching to 6 months if it’s just you or a couple with light usage.
- Annually: Check that the fridge is level, pull the coils for a full clean rather than a quick vacuum, and consider a professional inspection if the unit is older or running warm.
What to Use to Clean a Fridge (and What to Avoid)
Stick to what’s gentle on both the appliance and the food it holds.
- Baking soda solution: one tablespoon per quart of warm water, ideal for interior walls and shelves.
- Mild dish soap: best for removable shelves, drawers, and drip trays.
- Microfiber cloths, a soft sponge, and an old toothbrush: cover almost every surface and crevice you’ll encounter.
- A coil brush or vacuum attachment: for the condenser coils, never a wet cloth.
- A cooler with ice packs: non-negotiable for holding perishables safely.
- Avoid: abrasive scrub pads, which scratch plastic liners; concentrated solvents; and bleach on plastic parts unless your owner’s manual specifically allows it.
- Skip straight vinegar on rubber gaskets, though it’s fine on glass shelving for mineral spots.
Food Safety Rules While You Clean
The clock starts the moment food leaves the fridge. The USDA sets the limit at two hours at room temperature, dropping to just one hour if your kitchen tops 90°F, which it easily can in a Florida summer with the AC working overtime. A cooler packed with ice packs, or a spare fridge if you have one, is the safest holding spot during a deep clean. When in doubt about anything that sat out past that window, especially dairy, meat, or leftovers, throw it out rather than risk it.
Fixing Stains, Sticky Spots, and Lingering Smells
Most fridge problems have a simple fix if you catch them early.
- Dried stains: Let a baking soda paste sit on the spot for a few minutes before wiping.
- Sticky residue from spilled syrup or jam: a small dab of cooking oil on a cloth loosens it before you wipe with soapy water.
- Mineral deposits or grease on glass shelves: a light vinegar spray works, but always spot-test first and never use it on gaskets.
- Persistent odors: swap your baking soda box and check the drip pan underneath, since RealSimple notes that a forgotten leaky container or spoiled item is usually the real source, not the air itself.
- Mold in the gasket folds: clean, dry thoroughly, and monitor. If it keeps coming back, that’s your sign the seal itself may need replacing, a job worth calling a professional for.
Coils, Vents, and Keeping the Outside in Shape
The condenser coils, usually tucked behind the fridge or along the bottom underside, collect dust that forces the compressor to work harder than it should. A vacuum with a soft brush attachment or a dedicated coil brush clears this out in a few minutes, and Consumer Reports recommends doing it at least twice a year to protect efficiency. While you’re back there, pull the drip pan if your model has an accessible one and give it a quick rinse. On the outside, stainless steel responds well to a microfiber cloth and a dab of dish soap, wiped in the direction of the grain to avoid streaking.
When a Professional Deep Clean Makes More Sense
Not every fridge cleaning fits neatly into an afternoon. Heavy grease buildup, visible mold that keeps returning, mobility limits that make bending into a crisper drawer difficult, or simply a calendar with zero free hours are all good reasons to call in help. Limpiezatropical includes complimentary fridge cleaning with every standard visit, so it’s already part of what you’re paying for rather than an upsell. Their instant online estimate tool quotes a price in about 60 seconds, no callback required. For readers weighing DIY against hiring out, this breakdown of deep versus standard cleaning lays out exactly where the line sits.
A Scheduling Trick Worth Stealing
Pair your deep clean with something you’re already doing, like a seasonal pantry purge or the day you swap smoke detector batteries. Piggybacking the task onto an existing habit is the only reason mine actually happens on schedule. Follow the checklist above, respect the food safety windows, and keep that box of baking soda fresh. Your fridge will smell better and last longer for it.
— Luka
Skip the Scrubbing: Let Limpiezatropical Handle It
If reading a 12-step checklist made your Saturday feel shorter already, you’re the exact reason Limpiezatropical exists. Every deep cleaning visit includes complimentary fridge cleaning at no extra charge, so you get the shelves, gasket, and interior handled by people who do this daily, not once every few months.

That matters most around move-in and move-out day, when a fridge left behind by a previous tenant is rarely something you want to tackle yourself, and for Airbnb hosts who need a spotless unit turned around between guests without losing a booking window. Limpiezatropical’s deep cleaning service in Miami covers exactly this kind of buildup, alongside the rest of the kitchen and home. If you’d rather prep than clean, this guide to getting ready for a cleaning visit tells you what to move out of the way beforehand. For a general sense of what professional standards look like across the industry, Pure Homes Cleaning Solutions outlines a similar range of residential services worth comparing.
Get your price in under a minute with the instant estimate tool and book a deep clean that leaves the fridge, and the rest of the kitchen, spotless without costing you your weekend.
Sources
These are the primary references behind the safety and frequency guidance in this checklist.
- Safe Handling of Take-Out Foods | USDA FSIS
- Ask ACI: Cleaning the Refrigerator | American Cleaning Institute
- How to deep-clean a refrigerator | Consumer Reports
- How to deep clean your fridge and keep it smelling fresh | RealSimple